|
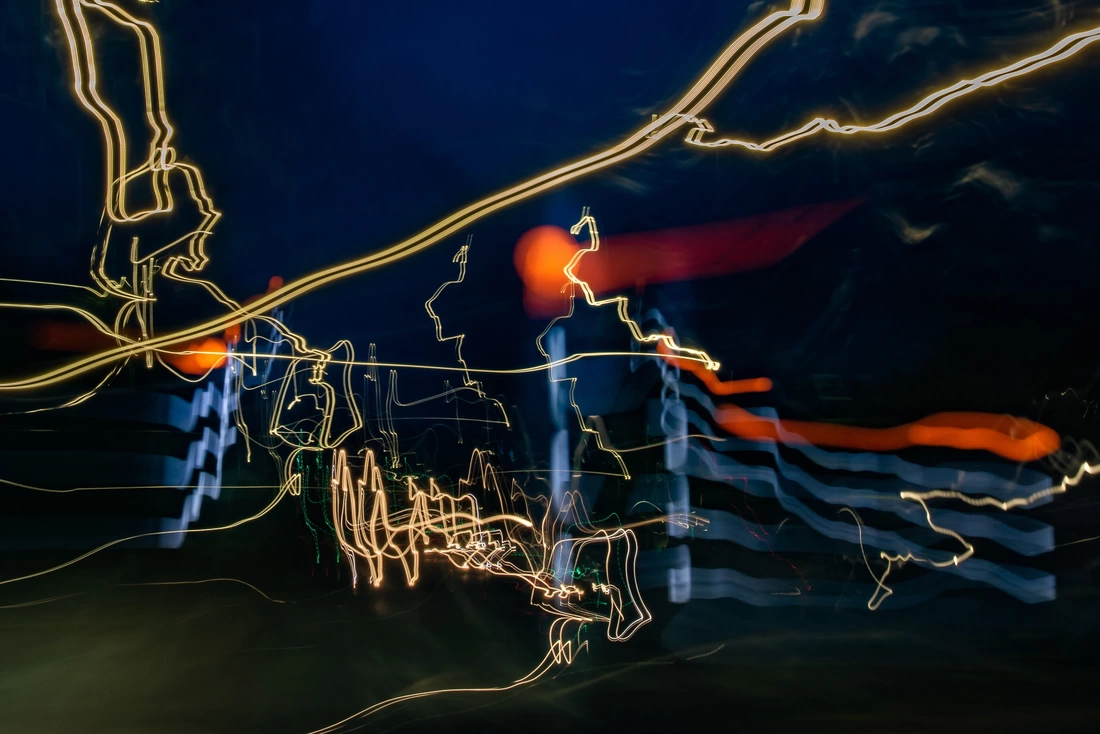
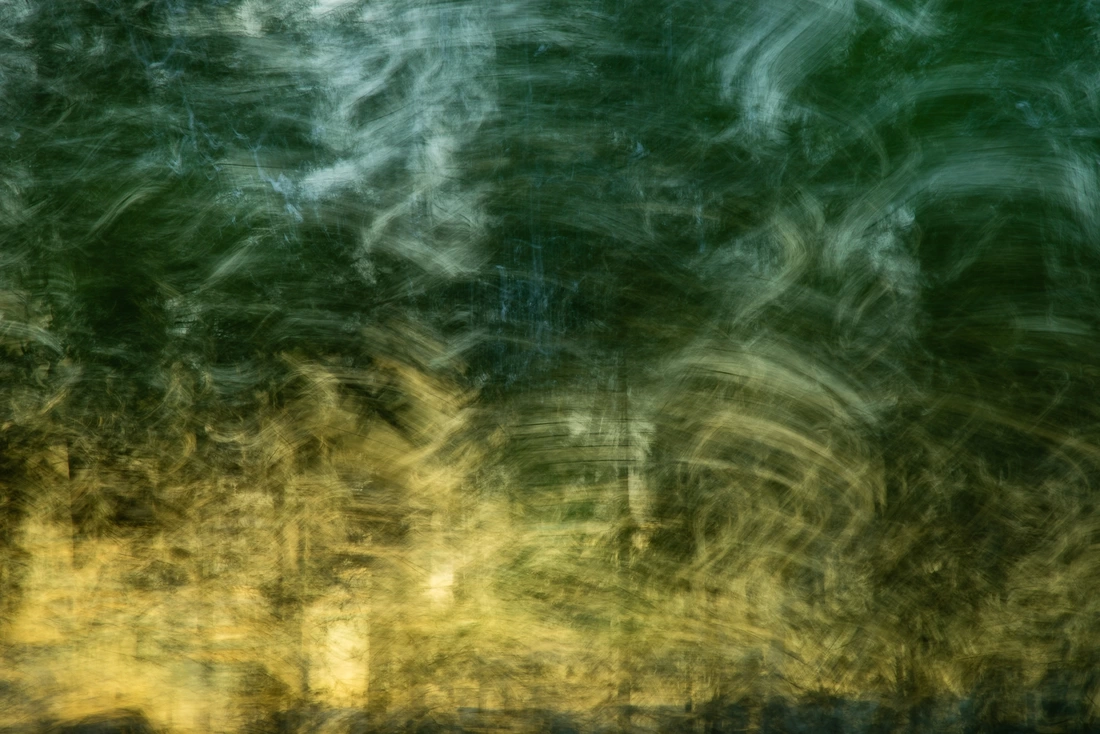
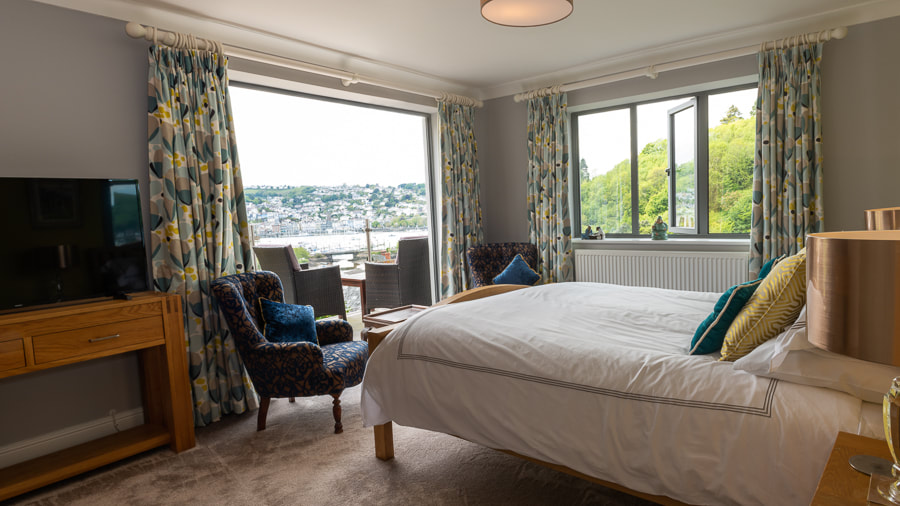
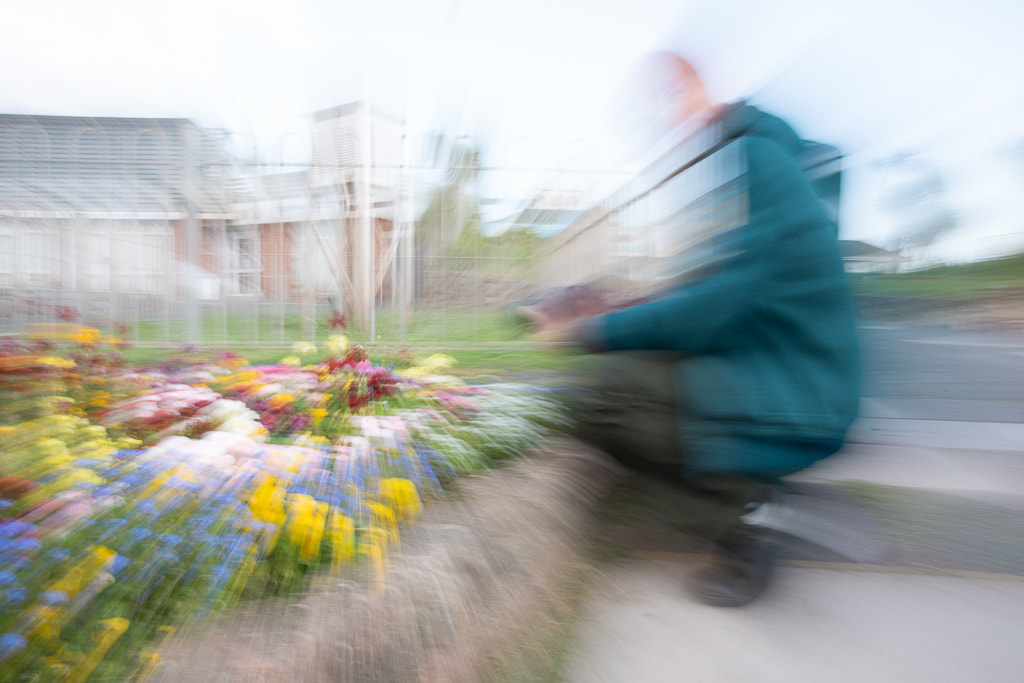
When you first decide to take your camera out of Auto mode, the world becomes a scary place, so many values, fractions and 'F' numbers to get your head around. Balancing exposure becomes a problem that you have never knew you had before. So why bother, right? Well, switching out of Auto mode is the first step to full creativity with your image making, You can learn to create light trails, to freeze fast motion in your images, to show movement in photos and how to take abstract images that look like painting. Learning how to control the camera settings opens a world of possibilities and allows you to take images that many people just don't know how to take. Here are some example photos that you just can't take in automatic mode: Long ExposuresLong exposures are created when you use slow shutter speeds. Learning what the shutter is, what it does and how to use it is the first step in understanding this shooting technique. This photo was taken with a 15 second exposure time. We teach all students about this setting in our recommended first Photography tuition session 'How to use your camera and the basic principles of Photography' This is one of our favourite ways to create interesting abstract images. These types of photos are hard to take in the daytime without the help of an ND filter (a filter that blocks light from coming into your lens) but you can take these types of shots in the golden hour, when the sun is going down, assuming you don't shoot straight into the sun. You can also take them as the sun is coming up as there won't be too much light around to flood into your camera. Knowing how to balance your three main camera settings in crucial to getting this effect in camera. One of the perks of this type of Photography is that you always get a good quality image - because of how the settings balance. That means beautifully clear elements within your photo. Which we think is pretty cool. So why can't I take long exposures in Auto mode? I hear you ask, because your camera is always trying to take your photo as quickly as it can in your given scene, it prioritises getting the correct exposure quickly, fast enough for you to hand hold your camera without getting camera shake or movement blur. The auto mode assumes you are trying to freeze the movement of your subject - therefore capturing the moment as you see it. Super Detailed LandscapesDid you know that a lot of landscape photographers take more than one image to create their landscape shots? They use a technique called exposure bracketing. The reason for this is that most cameras can only record one light level at a time, which is great if your scene is flatly lit with not many shadows or highlights, but a lot of the best landscapes have a big contrast between light and shadow, and are hard to capture in just one photo. This technique, known as bracketing allows you to take a range of exposures, from really dark, to a little dark, to correct exposure, then slightly too bright, then really bright, all of the same scene. You need to use a tripod to keep the camera still and to get the same framing for each shot, and there are particular camera settings to use for the best results. But essentially, once you have all of your exposures, you can merge them together in Lightroom Classic to create one image with lots of detail in the highlights, shadows and mid tones. A pretty cool process, we think. Professional Looking Interior PhotosYou can also use the above bracketing technique for interior photos. This is for when you want to get the detail in the bright areas outside and the dark areas inside the building. For rooms with big windows and gorgeous views. This is a technique we teach estate agents and property photographers to do as part of our workshops. Ping us an email if you want more detail about this. Prioritising Image QualityThe image quality is determined by one of the camera's main settings and you can control this when adjusting the balance of settings for certain scenes. When you use a tripod your camera doesn't know it's on a tripod and therefore will still balance your settings as if you are hand holding, taking the photo quickly to the detriment of the image quality - especially in low light. When you take control of your settings, and especially when you are using a tripod or have a lot of light to work with, you can use the best quality setting so your photos are sharp, distortion free and beautifully detailed. Pop Up FlashIsn't it annoying when you're trying to be subtle about taking a photo and then the annoying flash pops up? This happens in auto mode when your subject is backlit or when there isn't much light, not ideal if you're shooting where you're not supposed to be, I'm talking art galleries or museums for reference photos, I dunno what you're thinking... Anyhoo, when you shoot in semi automatic modes like shutter priority, aperture priority or manual mode, the flash only comes on when you tell it too. No more annoying flash popping up and exposing your poor ninja skills. Exposure CompensationYour camera records light, and when it comes to exposure (the brightness value in your photo) the camera is designed to record the light level of your scene by providing an average reading across the highlights, shadows and midtones. The camera is designed to make your most common light level in the scene a midtone, which can be problematic shooting in the snow or against a dark background, for example;
When your camera view finder is filled with a field covered in snow, the camera records the light bouncing off the snow as a midtone, darkening the overall image, it is designed to do this so that, in theory, your highlights and shadows fall either side of the midtones. When in auto mode there is nothing you can do about this, but if you shift to shutter priority, aperture priority or manual mode you can rebalance your settings to brighten the exposure to make the snow look white again. This is what is known as exposure compensation. The same sort of thing happens when you fill the view finder with a predominantly dark object, like a black dog or wall of tyres. Your camera records the mass of dark tones as a midtone, making it a lighter grey exposure. You can adjust for this in the semi automatic modes; shutter and aperture priority or manual mode. You cannot make exposure adjustments in automatic mode. To learn more about your camera and the basic principles of Photography pop your details in our sign up form here.
0 Comments
Leave a Reply. |
Our Mission Statement:
|
 RSS Feed